Many people think that boiling a chicken is as simple as throwing a chicken in some water and cooking till done. While this will yield something edible, rarely will it result in something worth savoring.
Often the simplest dishes are the most difficult.
Done right, boiled chicken, Vietnamese style, should result in perfectly cooked, moist chicken that has only an evanescent whisper of ginger. The muscle fibers should have a firm, toothsome texture; the skin should be pleasantly chewy but soft, and the only garnish needed are some green onions and and finely sliced ginger.
Done wrong, boiled chicken results in meat with a stringy texture, and flaccid, jiggly skin, and mushy dry meat. Most of the simmered/boiled/roasted/cooked chicken I eat have this characteristic, and I am usually unimpressed.
I will be experimenting with a few methods over the next few weeks.
06/22/12 Method 1
The first time I made it happened to be the best so far. I did not soak the chicken in a brine. I rinsed it off a bit, nestled it in a pot that was barely big enough and poured hot water from the kettle over it. This is a tip I got from some Vietnamese forums, which is to make the skin "tighten." I used my larger gas burner on high, covered the chicken with water (a bit of the breast was not submerged), and quickly brought it to a boil. I then dumped out the contents along with the scum. I then placed the chicken back in the pot, covered with hot water from the kettle again, and brought the chicken to a boil as quickly as possible along with a pinch of salt and a few fresh ginger coins that I smashed. Because the chicken was not completely submerged (about the top 1/2 inch of breast was sticking out), I turned the chicken around a couple times. I let the chicken actively be simmered for about 15 minutes, covered it, shut off the stove, and let ambient water temperature continue to cook the chicken for about 30 minutes. When 30 minutes was up, I promptly removed the chicken from the pot to let it cool. The broth I was left with was beautiful clear, flavorful, and had some nice body.
This chicken was, in a word, almost perfect. The texture and flavor were on par with what this dish quintessentially should be.
06/23/2012 Method 2
Today's chicken was made with a chicken that had sat in a salt brine overnight. I nestled this chicken in a larger pot than from Method 1 with hot water already in it so that the chicken could be completely submerged. I spent a considerable amount of time pulling the scum from the top, and I used the smaller gas burner. It took a while for the water to boil, and when it did, I let it boil quite vigorously for about 10 minutes, covered it, shut off the stove, and let the ambient water temperature continue to cook the chicken for about 30 minutes.
Method 2's version yielded a disappointing chicken. The first thing I noticed when I pulled the chicken out of the pot was that it was waterlogged, bloated, and while it sat and cooled, it lost a lot of juice. The texture of the chicken was unfortunate as well -- it had the stringy, mushy texture that most mediocre boiled chicken has. In addition, the meat was dry and the skin was a greasy, flaccid mess. The broth had little flavor and did not smell nice -- it smelled like a chicken had taken a dive into the pot, swam around and I was drinking its bath water.
NOTES: I think Method 2 was a failure for several reasons which I hope to have corrected for my 3rd go-around. One is that I think it was a mistake to use the smaller gas burner. The larger gas burner was needed to bring the water to boiling temperatures as quickly as possible. The second mistake is that while the chicken is "boiling," the water should not actually be at a rolling boil -- it should be a gentle simmer. The third mistake is that I should not have skipped the step of initially pouring boiling water over the chicken to "tighten" its skin.
For Method 3 I will do the following: brine the chicken overnight, use a large stock pot, pour boiling water over the chicken to tighten the skin, throw out the first boiled water, and use the larger burner to bring water to temperature as quickly as possible.
"Recipe"
1 chicken
salt
ginger
water
Because this dish is so simple and has so few ingredients, the quality of each respective ingredient is very important.
Sauces to accompany:
Coconut aminos sauce
ginger, thinly sliced
cilantro, minced
Fish sauce
Red Boat fish sauce, or other high-quality virgin pressing
squeeze of lime juice
ginger, thinly sliced
cilantro, minced
Soy sauce, naturally brewed
ginger, thinly sliced
cilantro, minced
Saturday, June 23, 2012
Saturday, April 14, 2012
Pomelo Fruit Salad, GAPS friendly
Pomelo is one of my favorite fruits. It has a lovely, sweet taste balanced with a slight bitterness that I really enjoy. My family eats this fruit with salt mixed with chili garlic sauce. Unfortunately, the commercial chili garlic sauce we usually use is not GAPS-friendly, so I prepared a variation of it.
There was no measuring involved on my part. Just eyeball the colors so they look beautiful and balanced, and taste everything to your preference.
 Ingredients:
Pomelo, peeled and sectioned (remove the white membranes)
Cucumber, peeled and chopped
Pineapple, peeled and chopped
Orange, peeled and sectioned
Dressing:
Lime juice
Salt
Red pepper flakes
There was no measuring involved on my part. Just eyeball the colors so they look beautiful and balanced, and taste everything to your preference.

Pomelo, peeled and sectioned (remove the white membranes)
Cucumber, peeled and chopped
Pineapple, peeled and chopped
Orange, peeled and sectioned
Dressing:
Lime juice
Salt
Red pepper flakes
Monday, March 19, 2012
GAPS pork ribs
3 T beef fat
3 garlic cloves
1 T cumin
red pepper flakes
3 T paprika
oregano
garlic and herb seasoning
2 T apple cider vinegar
3 T fermented carrot and daikon water
slow cooker for 8 hours.
3 garlic cloves
1 T cumin
red pepper flakes
3 T paprika
oregano
garlic and herb seasoning
2 T apple cider vinegar
3 T fermented carrot and daikon water
slow cooker for 8 hours.
Sunday, February 19, 2012
Flax seed crackers
One thing I miss about going grain free is crunchy stuff. These flax seed crackers were delicious with my GAPS-friendly lima bean hummus.
Recipe:
1 part ground flax seeds
1 part water
salt to taste
optional: herbs, spices.
Mix ingredients together, spread on a sheet, and bake at 350 degrees until dry.
Recipe:
1 part ground flax seeds
1 part water
salt to taste
optional: herbs, spices.
Mix ingredients together, spread on a sheet, and bake at 350 degrees until dry.
Blood Orange Carrot Cake -- GAPS friendly!
I'm slowly getting the hang of experimenting with making foods that are allergen-friendly and GAPS-approved. Here is a blood orange carrot cake recipe that I made this morning.
Recipe
1/4 cup carrots
1/4 cup almonds, soaked overnight
1/2 cup walnuts, soaked overnight
1/8 cup ground flax seeds
2 pitted dried plums
1 tsp blood orange zest
Juice from one small blood orange
1/4 cup shredded coconut, lightly toasted
1 T honey
Frosting
1 T ghee
1/4 tsp honey
1/2 tsp blood orange juice
In a food processor, combine carrots, almonds, walnuts, and dried plums. Transfer mixture to a bowl and add the ground flax seeds, zest, blood orange juice, shredded coconut, and honey. Transfer mixture to two ramekins. Top with frosting and serve.
Optional: Bake the ramekins at 350 degrees for about 30 minutes. Remove from oven, let cool, top with frosting and serve.

This was not one of my more delicious experiments. The "cake" portion tasted good when it was fresh, but adding the frosting and serving it the next day was not a good idea. For the future, I may make "snack bars" out of this.
Saturday, January 14, 2012
Com Chay
Com Chay is one of my favorite foods, and I made this a while back and hadn't gotten the chance to post it yet. While I'm on the GAPS diet, I won't be able to enjoy this, and Dr. Shanahan's Deep Nutrition book has convinced me to banish vegetable oil from my diet forever, so from now on when I make this in the future, I will be using chicken fat to crisp the rice and a natural-pressed oil for the onions.
Com chay literally means "burnt rice."
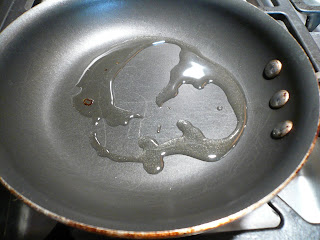
Start with fat in a non stick skillet and heat it:
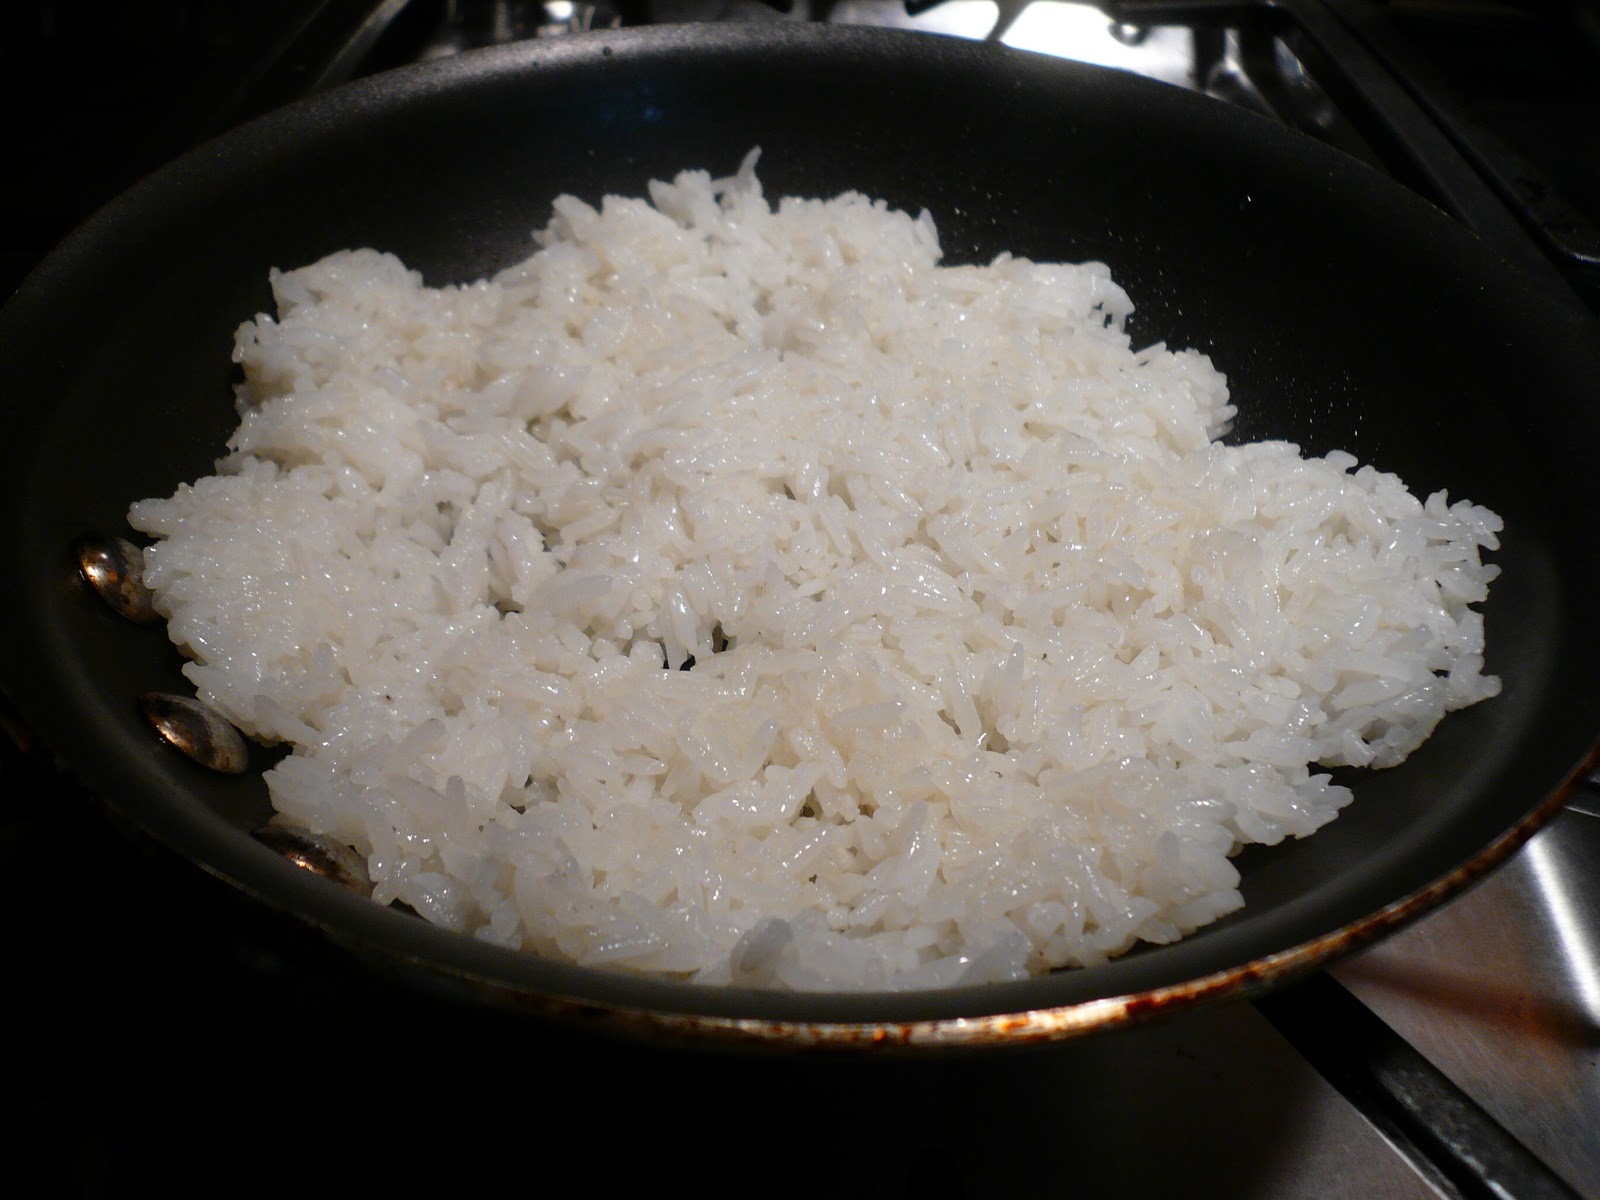
Add cooked rice to the skillet. Stir it around a bit so the rice is coated

Cook the rice without disturbing it so that bottom crisps. This takes a while, and you can shake the rice to the side and peek to see how it's doing. You need a lot of fat for this so that nothing sticks, and you want it to be a saturated fat because those are more stable when you heat them.
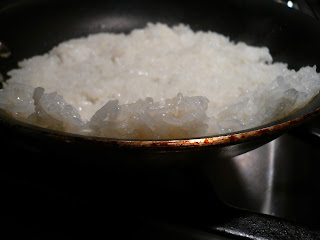

Keep peeking until the crust develops to the desired amount. The more golden-brown it is, the more delicious.

Meanwhile, in between checking the crust of the rice, slice some green onions:


Mix the green onions with oil, and slightly mash them to release their flavors into the oil.

Add the onion and onion oil to the com chay and serve. Mmmmmm!

Com chay literally means "burnt rice."
Start with fat in a non stick skillet and heat it:

Add cooked rice to the skillet. Stir it around a bit so the rice is coated
Cook the rice without disturbing it so that bottom crisps. This takes a while, and you can shake the rice to the side and peek to see how it's doing. You need a lot of fat for this so that nothing sticks, and you want it to be a saturated fat because those are more stable when you heat them.


Keep peeking until the crust develops to the desired amount. The more golden-brown it is, the more delicious.

Meanwhile, in between checking the crust of the rice, slice some green onions:
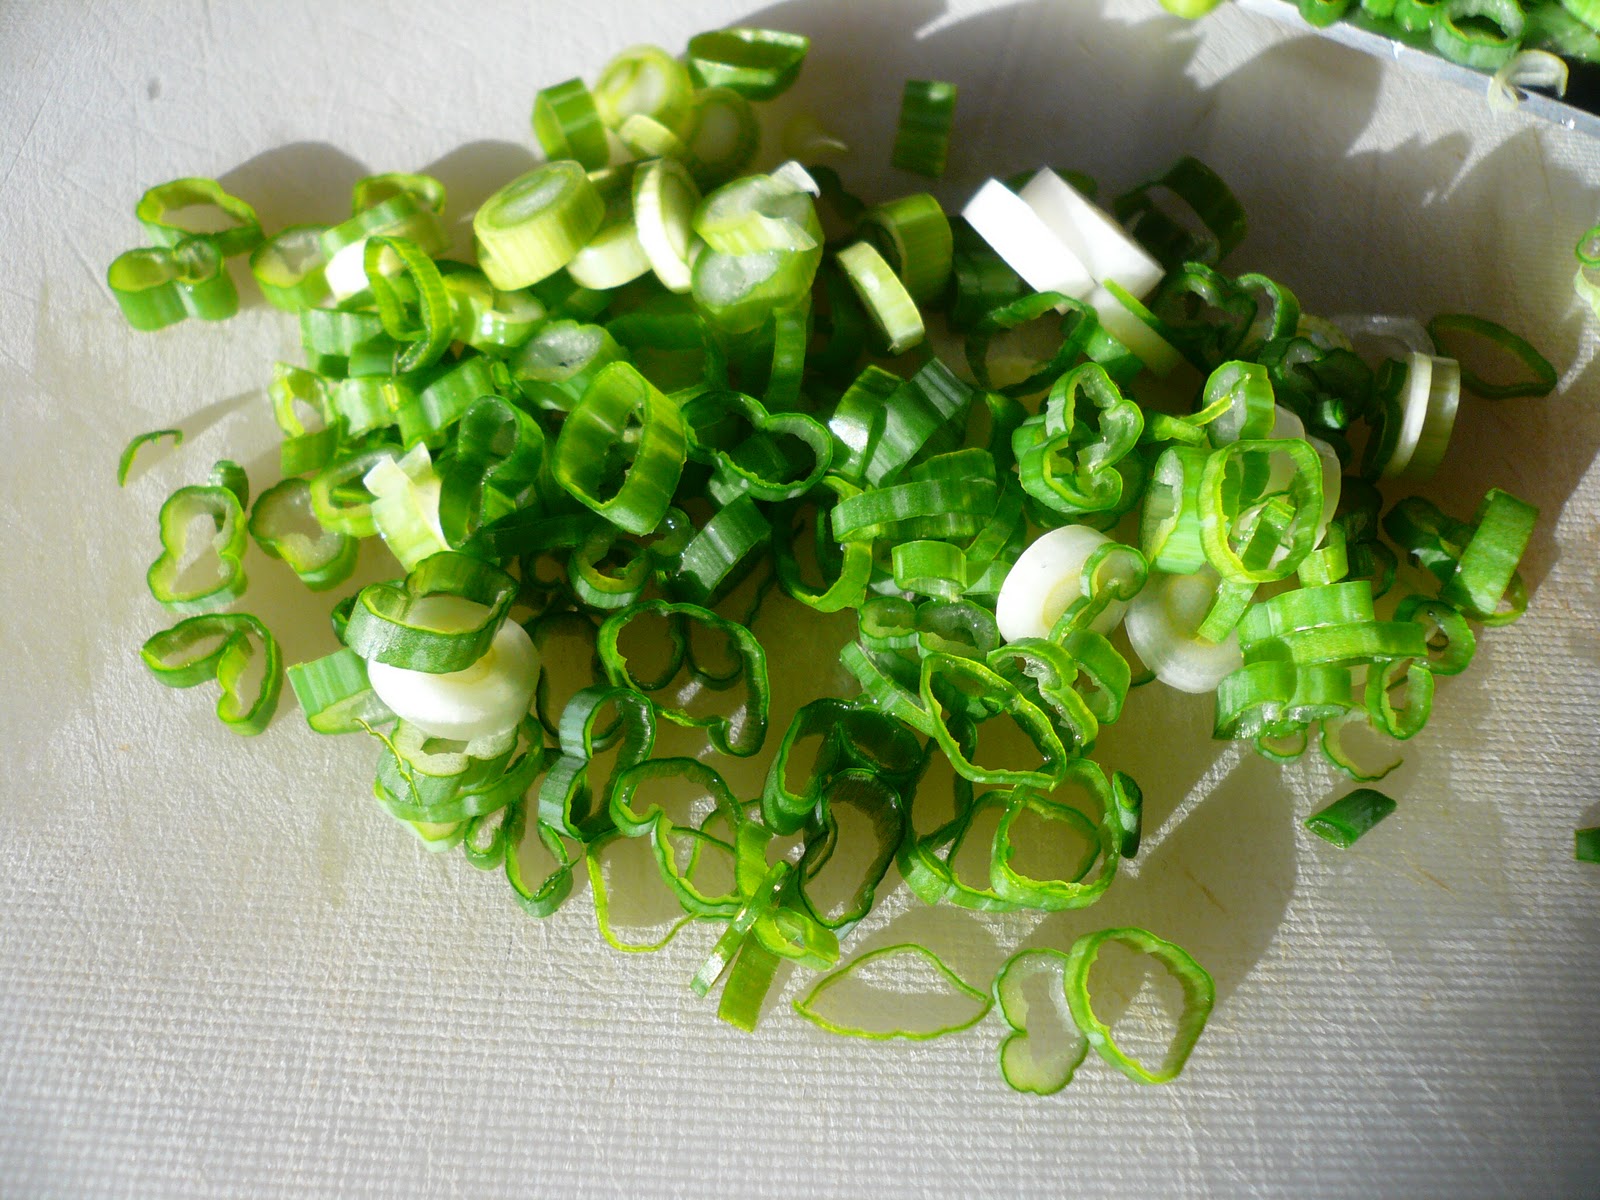

Mix the green onions with oil, and slightly mash them to release their flavors into the oil.

Add the onion and onion oil to the com chay and serve. Mmmmmm!

Chicken Broth

Chicken broth is so comforting to me. I buy chicken bones from Lunardi's, make stock, strip the chicken from the bone, skim off the fat, and try not to let anything go to waste. My chicken broth includes bones, an onion, some ginger, and a handful of cilantro if I have it on hand. If I'm going to make it pho style, I'll throw in some pho spices (star anise, cardamom, cinnamon, coriander). Broth needs to be crystal clear, so all that scum on top will need to be skimmed off. It takes time, but there is something beautifully comforting about standing over a stock pot and fussing over it, tasting it, and skimming it.
The fat is delicious, and when I'm lucky, there's a lot of it. When the broth cools, I pull off the disk of fat that floats to the top and keep a jar of it for cooking.
The meat I strip off the bone is tender, and I pull off all the cartilage with it, then put the bones back in with the broth to continue extracting flavor and nutrients. With the chicken meat, I make chicken pancakes to freeze for snacks. Some of the shredded chicken I just freeze plain for future use.
I'm very busy these days, and since my diet is so restrictive, I need to have a food stash available so I can eat even when I don't have time to cook.
Subscribe to:
Posts (Atom)